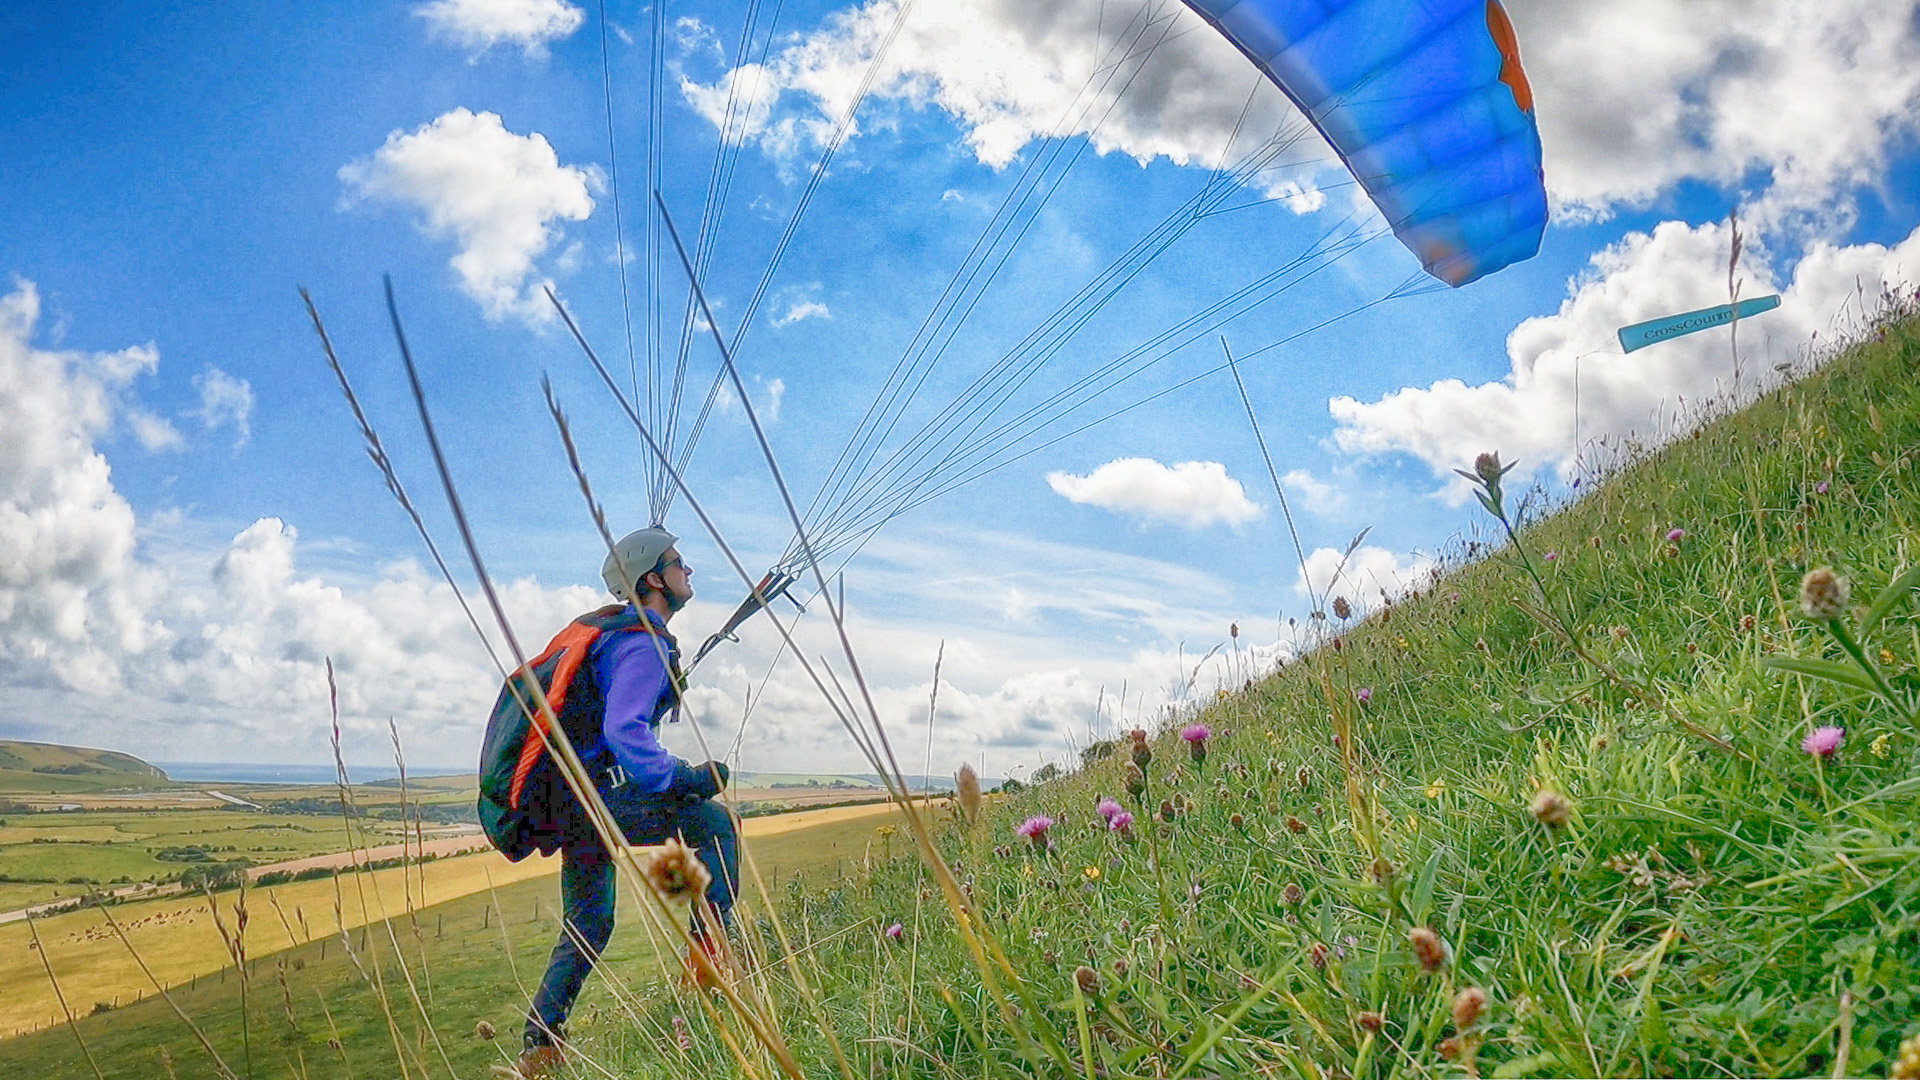
When you learn to fly, you are told it is dangerous to launch with the wind beyond 45 degrees off ‘straight up the slope’. Crosswinds cause turbulence. So why would you launch in a crosswind?
In hike and fly, you often cannot reach a perfect launch slope. It might have taken hours to get to your chosen peak, and the weather might have changed. The forecast might be wrong. Or you just need to get off the mountain before the rain comes in.
If you can do it safely, there’s no reason to restrict yourself to ‘perfect direction’. But it can be risky to ignore the dangers of the crosswind. So in this article I’ll show you how to keep yourself safe on a steep slope.
10 STEPS TO A SAFE CROSSWIND LAUNCH
- Is the wind steady? If it’s gusty and changing direction, you’re in the lee of an obstacle. Find a better place to launch that is more exposed to the cross wind.
- Don’t expect lift. Expect turbulence, so make sure the slope is steep and free of hazards.
- When the wind runs across the slope, your wing will try to fly down the slope because gravity pulls both the wing and the air downhill, and you’ll naturally avoid moving under the wing to correct roll.
- You don’t want to be pulled down the hill because you’ll lose your footing, so force the wing to go uphill by braking the wing on the uphill side, launching the downhill tip first (it will fly uphill), or laying it out in cobra launch position with the wing already uphill of your position.
- Keep the uphill tip on the hillside, let the wing pull you uphill.
- Walk uphill to reduce the power, as you feel the quality of wind. In this phase you can judge how turbulent it is, how strong it is, and if you want to commit to launching.
- Use minimal brake to centre the wing (rather step uphill to centre the wing). Be very careful that you don’t let the wing roll over to the downhill side, which will pull you off the hill.
- Adopt a good launch stance and get the wing balanced overhead.
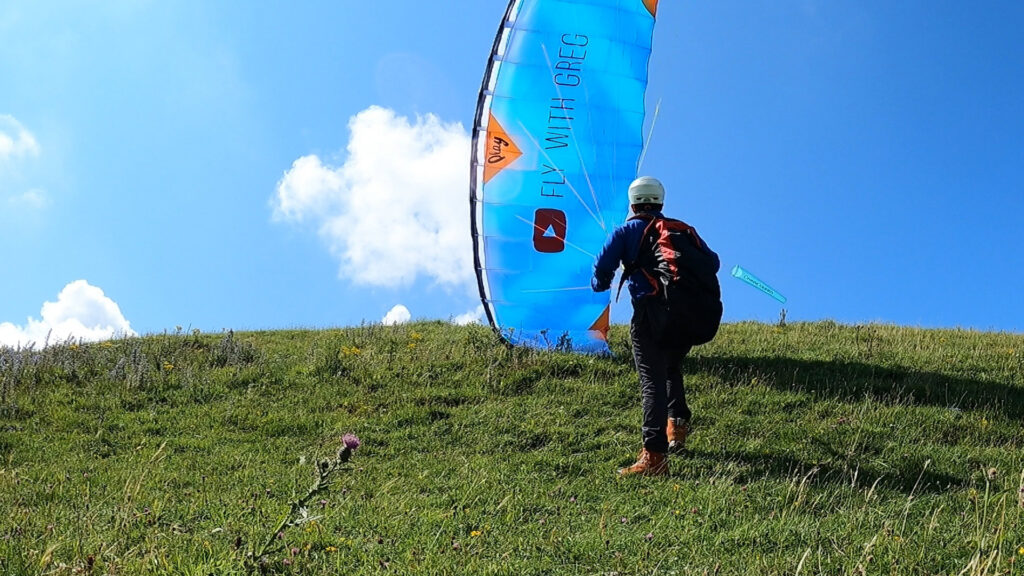
- When you feel there’s a good moment, turn the wing just 10 degrees off the wind direction (downhill) and run to follow it.
- Once fully airborne, veer further away from the slope to get vertical separation.
SPECIAL TIPS FOR A GREAT TECHNIQUE
- If there is strong wind, consider kiting the wing up from a flatter area so your wing is clear of the ground-wash turbulence.
- Your turn direction is important with a reverse launch. Set it up so that your turn leads you uphill. If the wind is coming over my left shoulder (facing my wing for a reverse launch) then I’ve got my left risers on top because I’m going to turn left to follow the wing and go up the hill. Then my risers are nice and open and I’ve got full control. But if I’ve got my right riser on top, when I want to turn to the safe side (uphill) the risers will be blocked up!
- A/C control is not suitable for crosswind launches, it lacks the yaw control that keeps the wing uphill, so it will tend to drag the wing downwind of you into an unsafe position.
- If you’re going to kill the wing, make sure it’s on the mountain side before you pull it down.
Practice this on an easy slope before trying it on to the X-Alps rocky launch site. I hope that helps you launch from strange places and fly off safely to somewhere better, where you’re going to get lift.
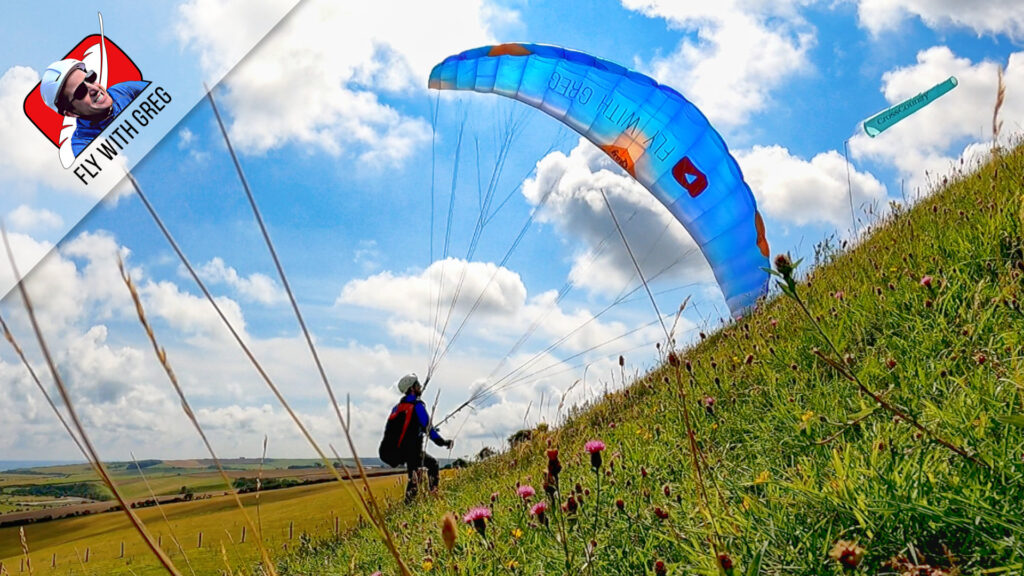
For a detailed demonstration watch the CROSSWIND LAUNCH video in the Flight Academy. This is just one lesson of many in the step-by-step LAUNCH SKILLS online paragliding course which you can start right now. Take your paragliding to the next level, and become fully prepared for cross country flying.
