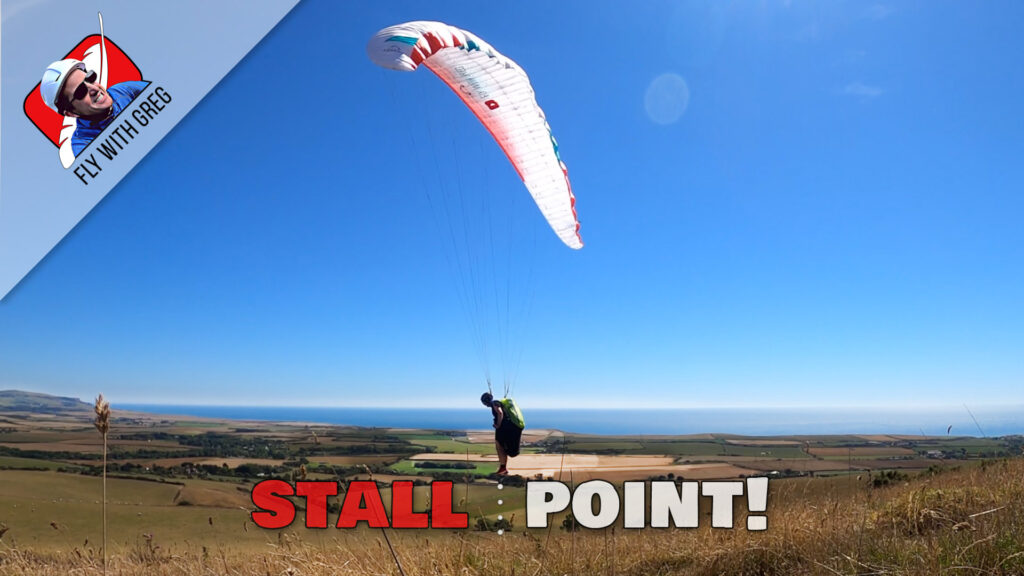
What is your stall point? In your aerodynamics lessons your instructor would have explained that when the angle of attack is too high, the airflow breaks away from the aerofoil and the wing stalls.
Why do you need to find your stall point? Because falling out of the air is bad! Through this low level training method you can learn how to feel the approach of stall point and avoid it. Developing this skill also gives you slow landing options and greatly improved launch control.
Watch out! If you cause a full stall a bit higher than directed in this article, you can crash. Because of this, practicing the stall point is not normally taught in paragliding schools and might even be frowned on by pilots in your club, who don’t see the benefits or haven’t been taught the technique of controlled slow flight. Experiment with this at your own risk. If you keep it low level, you get the benefit of the learning, without the risk.
How do you do it?
- Find a gentle slope facing into a steady breeze. No steep slopes!
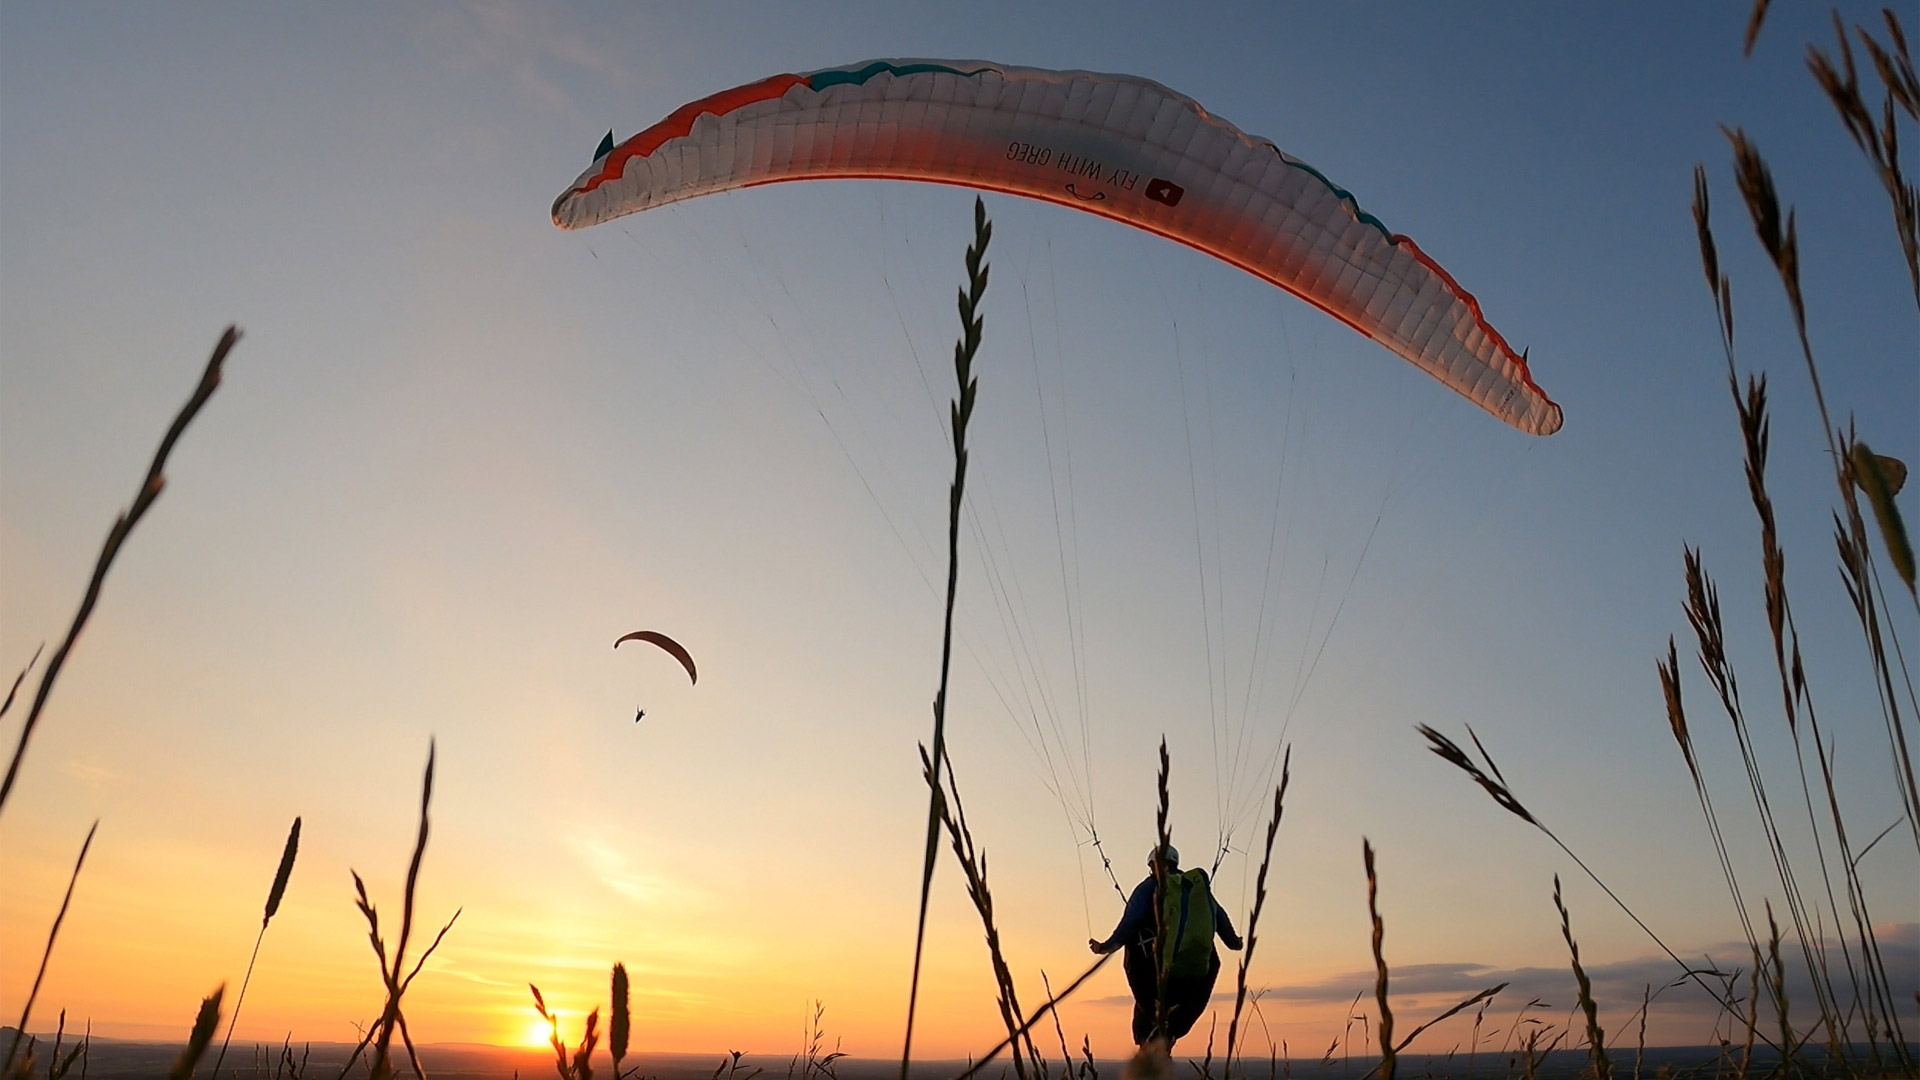
- Launch and fly slowly (on half brakes) with your legs down and your feet 1-2 metres above the surface
- Flare very slowly, hold the brakes down and feel for the ‘drop’ at around 4 seconds. That is the stall point. Some wings have a bite, some shake a little, some feel soft and forgiving.
- Avoid swooping or turning. Keep your wing directly above you and keep your flight path straight
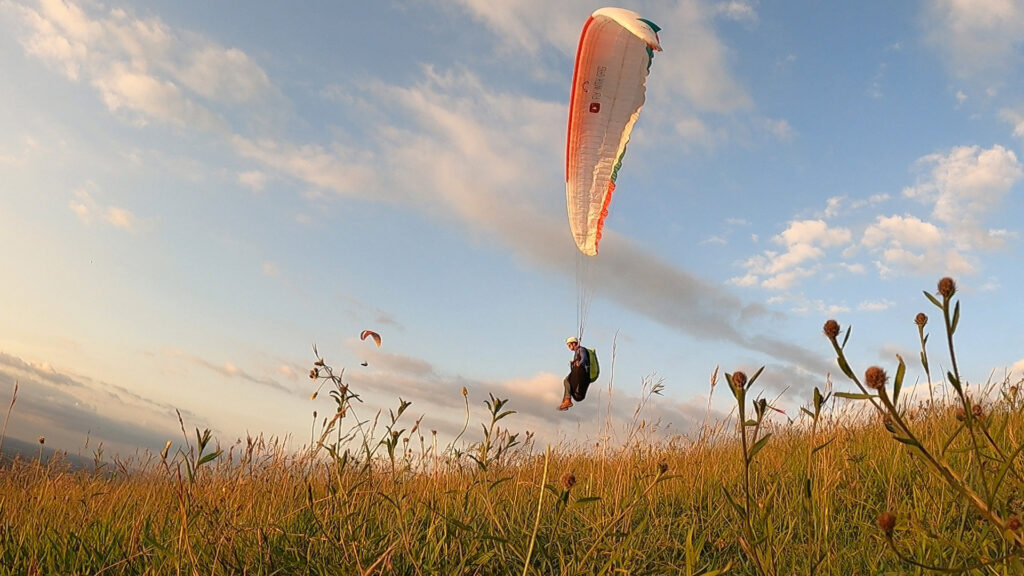
- If you get higher than 3 metres, gently release the brakes and fly away.
To really master this skill, when you feel the stall point approaching, release the brakes just enough to keep it flying. This extends the time you can remain flying slowly, with a high sink rate, just before the stall point.
What are the common mistakes?
- Sitting back in your seat. This is dangerous, because if the wing stalls you’ll be tipped further and land on your back. Dangle your legs underneath your body instead.
- Balancing on your hands is risky. Keep your bodyweight forward and trust your harness.
- Pushing down on one hand more than the other causes a spin.
- High performance wings, wet wings, old wings and those that are out of trim stall more easily
- Gusty conditions or wind shadow can disturb your wing – this is for smooth steady airflow only!
Key points: slow braking, straight approach, legs down and stay low. You are trying to develop the feeling of an approaching stall so you always release the brakes before stalling! Be ready for a surprise landing at any moment.
Your task: next time you are on an easy site, soar your feet through the grass as slowly as you can, for as long as you can, using a few centimetres less than your stall point position.
Every wing is different. Where is your stall point?
GO FURTHER
In my flight academy you can watch the full demonstration where I show you how to approach the exercise, followed by a Q&A session where I discuss the methods with academy members to fully explore the dangers and advantages of stall point training. We’ll take it slow!